How to Design a Custom Inflatable Air Powered Tube Dancer
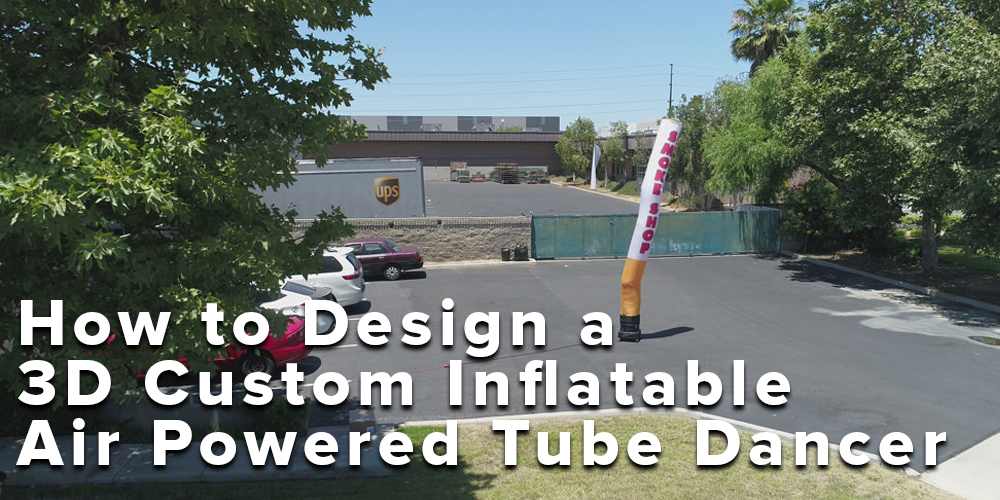
I’ll go over how to design a 3D Custom Inflatable Air Powered Tube Dancer that looks like a lit cigarette. We’ll be using a tube-style inflatable to do our layout. I would recommend using Adobe Illustrator.
Inflatable Tube Template
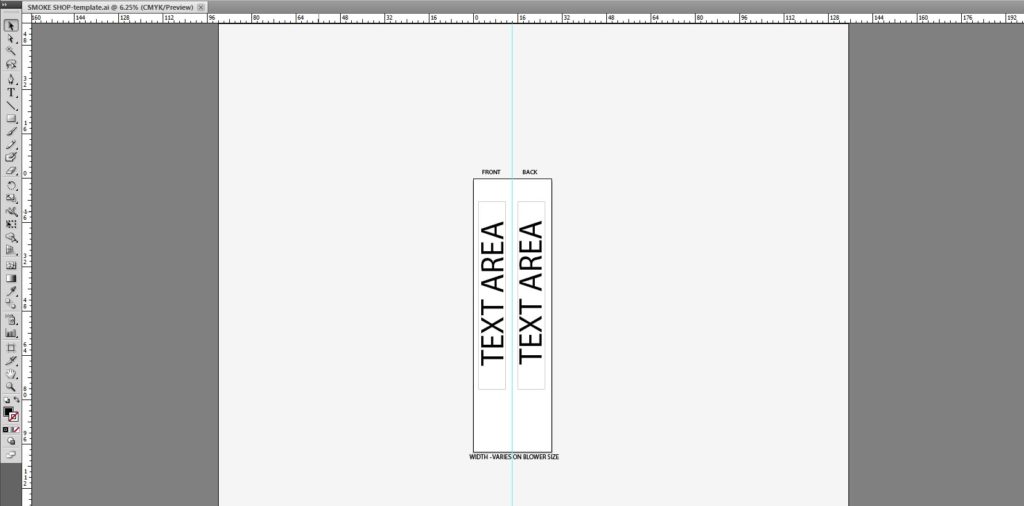
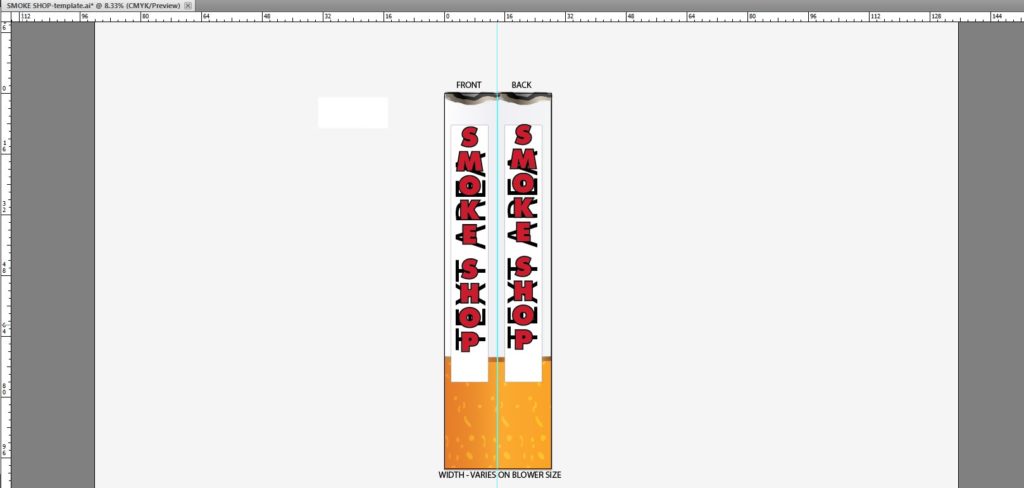
Figure 1 below shows how the template will start out. For an inflatable air powered tube dancer, you will be designing on a rectangle. The height and width of the template will vary depending on your blower horsepower and size. Our dancer blowers are 1 HP, so they can easily carry an inflatable tube of 18ft.
Our template is designed to be 18ft tall and its width is made for an 18-inch diameter. To determine the width of your template, you would need to measure the diameter of your motor, divide that number by 2, and then multiple it by 3.14.
For an inflatable tube, we will be taking the above template and sewing it into a tube. Imagine the image above being rolled and sewn. The blue bleed line represents the middle of the tube, which will separate the front and back of this inflatable.
Creating your 3D Cigarette Tube Dancer Layout
Following the instructions below, you will see how easy it is to create a 3D inflatable cigarette. We advise using Adobe Illustrator. Vector graphics can be found on many websites. You can google “cigarette vector file” to locate many royalty-free graphics on the web.
Determining your Vector Graphics
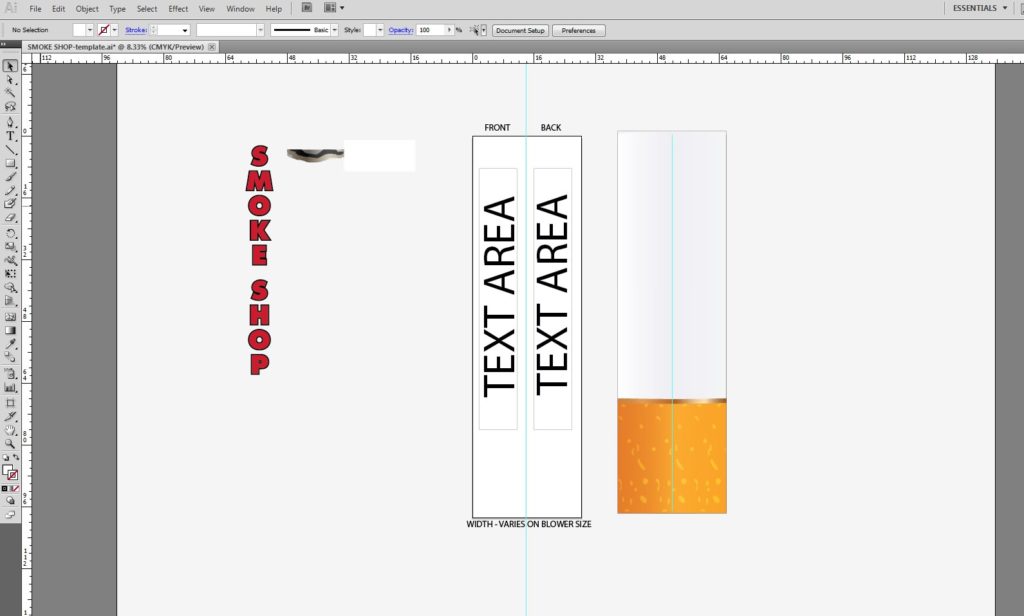
A cigarette is typically a white/gray color, so we can make the body a very faint gray. We also need the butt of the cigarette. In our design, I’ve added the text “Smoke Shop” since this inflatable air powered tube dancer was made for a client who owns a smoke shop.
Before starting to do the layout, it is best to have all your pieces on your design board. The image in figure 2 shows the vector graphics placed around the template.
Placing your Graphics on the Template
Once you have the graphics ready, you will need to make them fit the template. Figure 3 below shows all of the graphics places in the proper places.
The butt of the cigarette will need to be at the bottom of the template. “Smoke Shop” text has to fit inside the designated text area. The text area can be changed as you like and will vary depending on the design, but it cannot go past the blue separation line.
It is important to note that graphics touching the edge of the left and right side of the template will overlap when they are sewn. Always leave a few inches to prevent this.
For the cigarette ash at the top of the design, you will need to use the graphics twice, for the front and back.
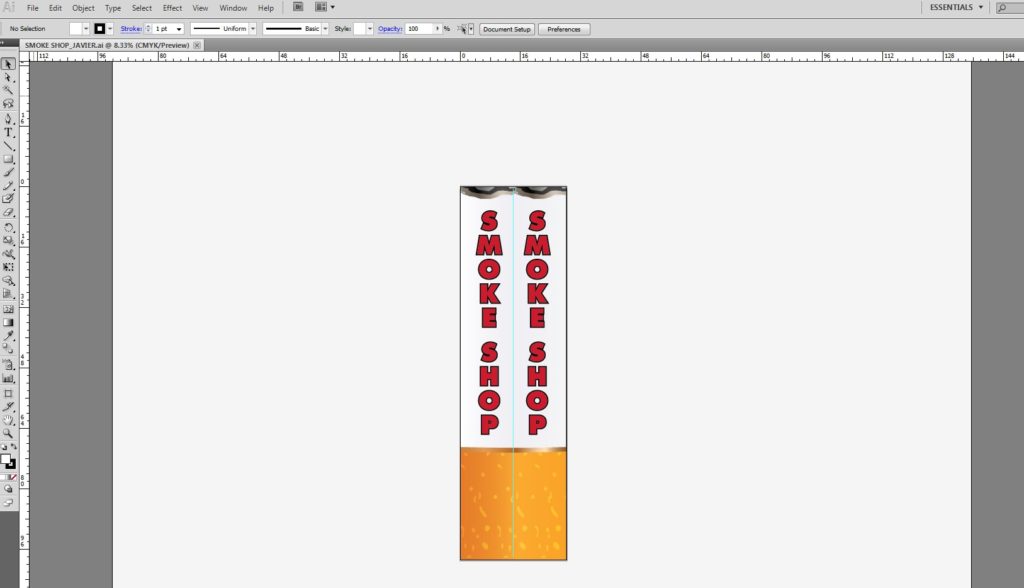
Once you are happy with the layout, you can remove all of the template guide lines. Figure 4 shows the final print file.
Before putting your file into print, be sure that your file is in CMYK color mode. The blue guideline in adobe illustrator will not be present in the print file, so you can keep that as is.
Final Product - 3D Cigarette Inflatable Air Powered Tube Dancer
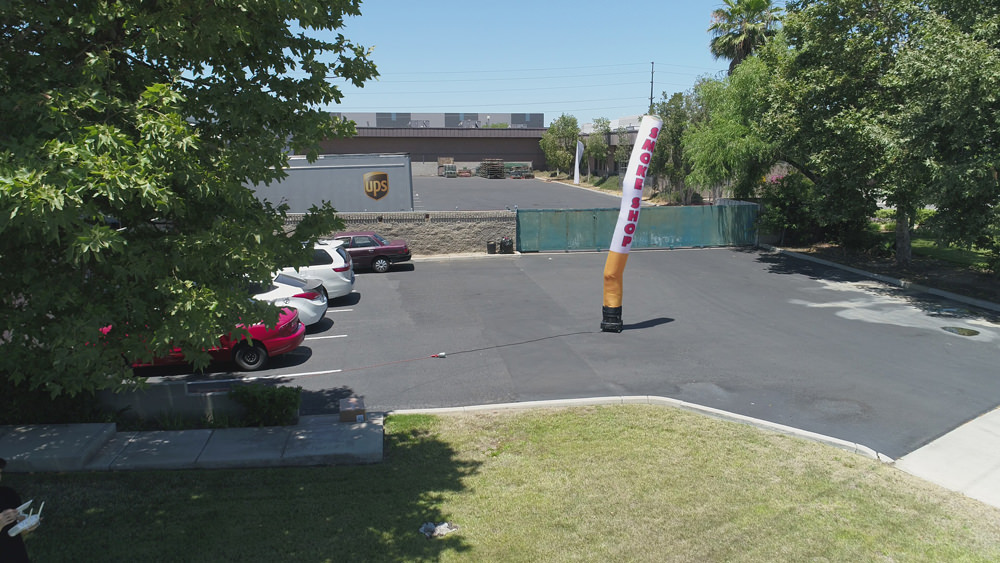
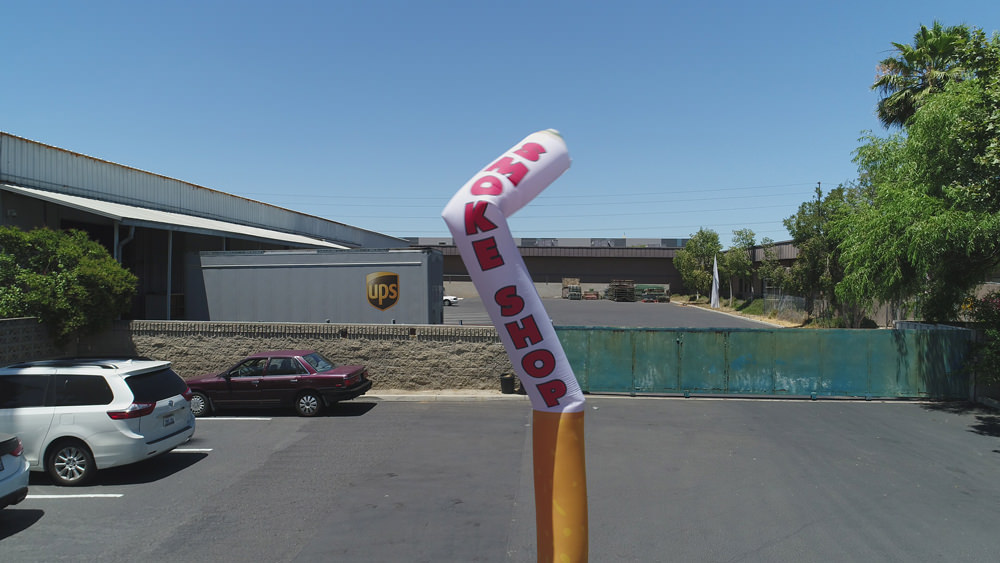
The images below will show the final product. Looks great, right? From this tutorial, I hope you are able to learn how to design a 3D custom inflatable air powered tube dancer. Simple designs such as cigarettes, cigars, pens, and other cylindrical designs are very easy to bring to life.
We also offer free design services if you’d rather have one of our designers create a proof for you! To start your free design request, click here!
REQUEST A DESIGN NOW & GET FREE SHIPPING
